These are the first 3D printed models I've formally added to my WWII collection. I haven't used 3D printed models before because the quality and cost factors always moved me to choosing cast models. Analog vs. digital and I'm just an analog guy in a digital world.
The quality problem with 3D Printed Models for me is the resolution problem. Vertical surfaces show the deposition layers in the 'Z' dimension (up/down) and for sloped surfaces it is even worse as they show the resolution problem in the Z and X/Y dimensions. Sine, cosine, and all that stuff. The better the resolution of the printer, the less noticeable the striations. And the resoultion also limits the amount of detail you can include on a model. Think of rivets and such for armored vehicles.
The better the resolution and the more expert the person creating the digital file and the printer setup are the better looking the model will be. That all comes at a cost and for me I have always decided on cast modes vs. 3D prints as the quality of cast is better and the price is cheaper.
But I've added a new factor into my choice of models. With 3D printed models, a manufacturer can have a large inventory of digital files compared to the master sculpts and master molds a casting operation requires. It is cheaper to create a digital file than a mold so a 3D print process can offer lots of variations without much added cost.
I needed French Lorraine vehicles, specifically I needed a radio vehicle for 21st Panzer Division in Normandy. None of the businesses I normally buy from do a Lorraine much less a radio vehicle version. I would settle for a 3D printed model if I could find one that was decent.
And I did with a UK company called
Butlers' Printed Models. These guys had a large inventory of digital models and judging from their descriptions about their process and looking at the photos, they seemed to know what they were doing and the price was better than what I pay for cast models. So I ordered some vehicles to see how good they were. I ordered the Lorraine 37L+ fuel trailer to stand in for a signals vehicle. Looks like a spool of signal wire on the fuel trailer to me. Close enough!
I was impressed. The size of the vehicles fits well with my other 15mm vehicles. The better resolution printers and material that Butlers uses gives a model that does not have thick bulky sides, the model is not fragile, and does have a good level of detail and the striations on the vertical and sloped surfaces were tolerable to me. And the price was right. So overall I am happy with the Butler models and will add them to my buying list. Service and delivery time from UK to USA were all excellent.
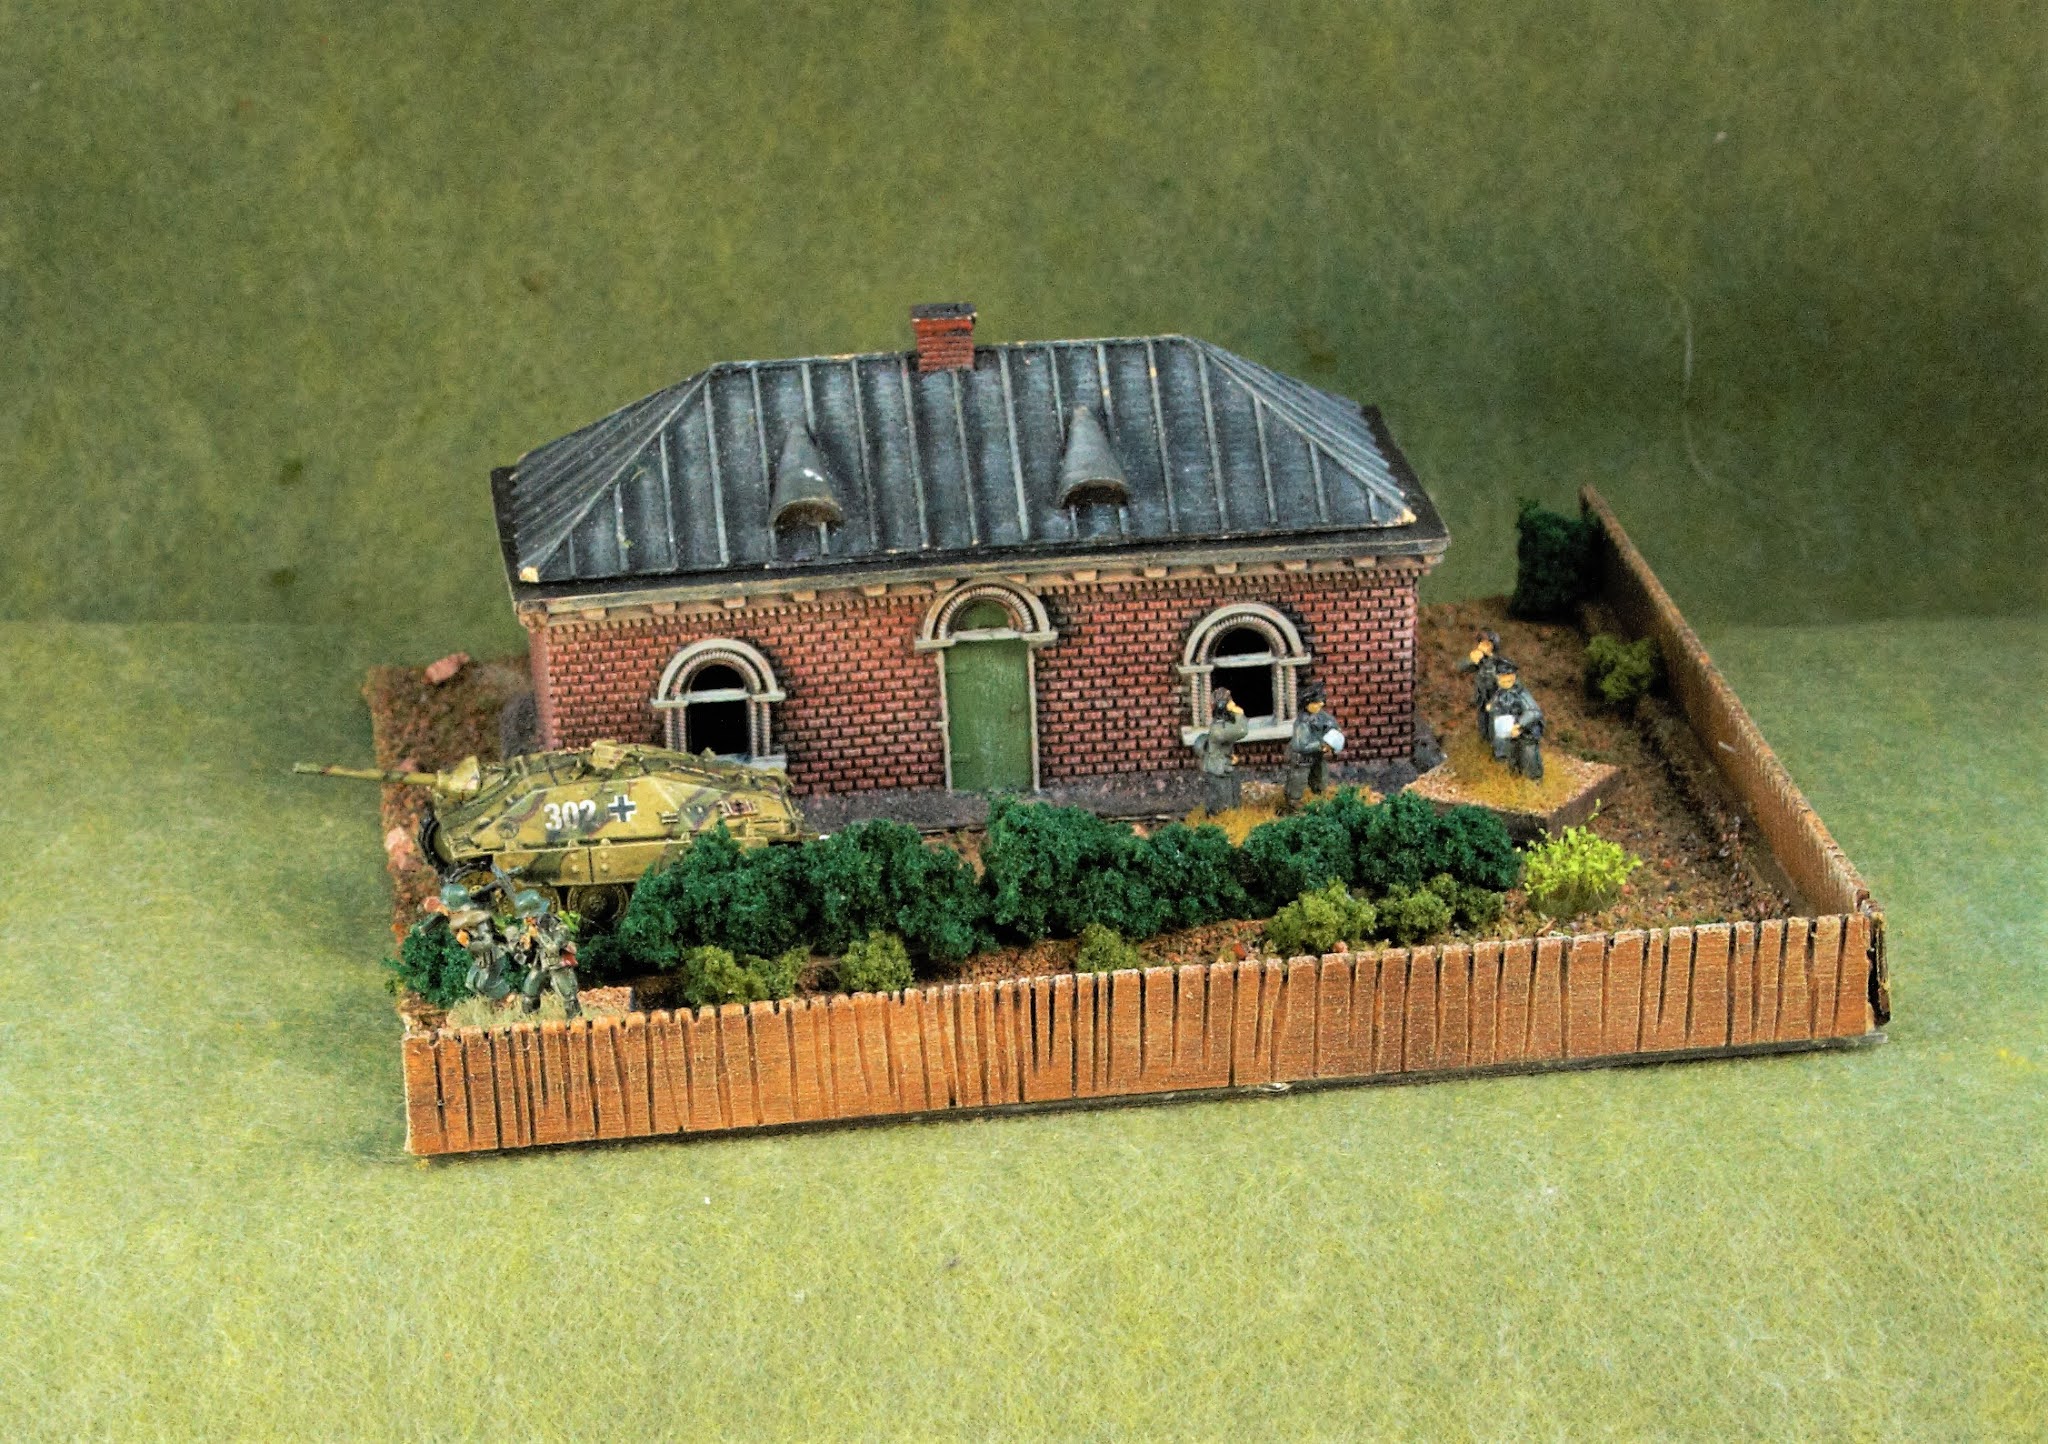
Some photos below with OG15/Quality Casting figures included for comparison.
Here is a shot of the models right out of the box. There is some clean up (expected)and you always have flash removal and filing to do with cast models) to remove the support surfaces produced in the 3D printing process. No problem using a sharp x-acto knife.
This is a shot of the the models after clean up. The red arrow points to a support surface I missed and removed later. Often the support surfaces to be removed can look an intended surface so you have to look twice before calling clean up complete.
And below are the painted vehicles. The basic Lorraine 38L will go with my French 1940 collection and the "signals" version will go with the 21st Panzer Division "oddballs" collection